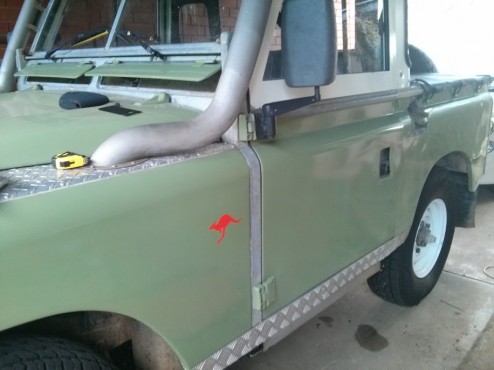
Yes I am still alive, and i have today something a little different. I few months back i purchased an old 1962 Series Land Rover, heavily modified with a lot of parts form the Australian Military Perentie. When i was browsing forums i notice someone talking about the kangaroo logo. I thought it sounds like a good way to honor the past of the vehicle and the people who have driven it. However it was really hard to come by pictures and exact details of the logo, look, colour and placement. Something i do need to note here is i purchased red but I actually learned today “The ARMY and the Kangaroo are usually in a bright or Flourescent orange called International Orange.” anyway i am happy with red for now.
So where do we start first I found this picture of the kangaroo.
I went looking for an SVG or vector so I could get it laser printed, but luckily for me i found an ebay seller (tranfixdecals) in Australia with just what i wanted for $6 inc postage (how could i go wrong, apart from later finding out i should have ordered orange 😛 ). They arrived a few days later. Their size is 130*90mm (This is actually bigger than the standard marking see below)
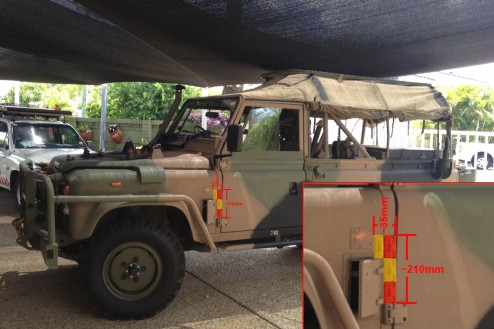
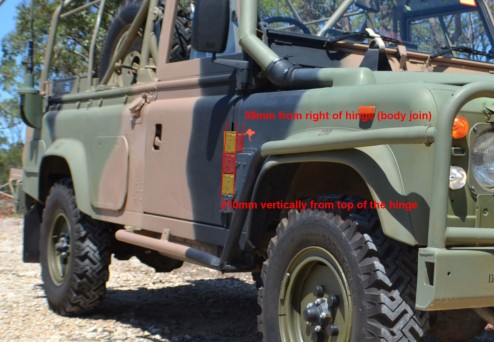
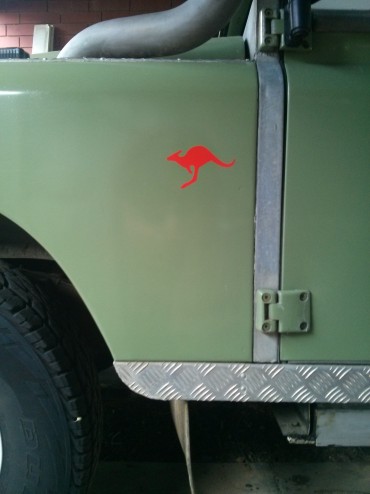
Now lets get a little geeky here. I didnt know exactly where the markings got sprayed and i couldnt seem to find this info anywhere (perhaps it isnt exact). Anyway i Googled and found two images that had the kangaroo. Then measuring from the hinge and knowing the rough dimensions on the hinge (W900mm by H700mm) i was able to work out where it should live (Where the kangaroo tail begins).
.So its about 210mm from the top of the hinge them 35mm from the right of that vertical line. This is where the tail begins. It is here i realize my kangaroos are slightly oversized. using the hinges in the picture i have found the approx correct authentic width of the kangaroo is ~85mm wide and ~52mm high. So if your a purist then this is what you will need to get laser cut. (But then again you might get a stencil cut and the spray it).
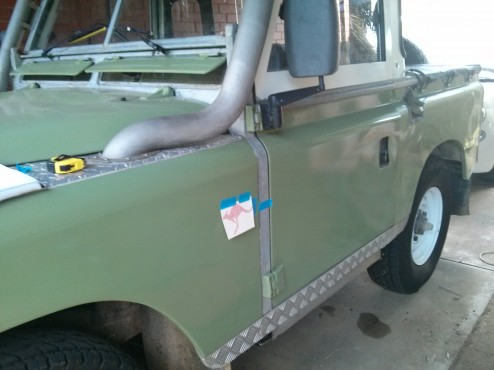
So here i am marking the location of the beginning of the tail. I also did a quick spirit level to ensure it is straight. If this is yoru first decal. the masking tape piece site on the outside and the sticker type backing on the inside. Easiest to masking tape it at the top like in the image above.
Grab some rubbing alcohol and clean the area with a shammy this will remove any wax etc that can stop the adhesion. Now remove the sticker backing off carefully. If any par of the stencil stays on the sticker paper. Stop. slowly place the sticker paper back on and rub lightly on the masking tape side, and then try to remove it again. With such a small decal place it down flat in one go and the flatten it out with your fingers pushing out from the center. Then grab a driving licence library card etc and just drag from the center out in all directions, getting any air caught under it out. Finally remove the masking tape carefully in a 45 degree angle.
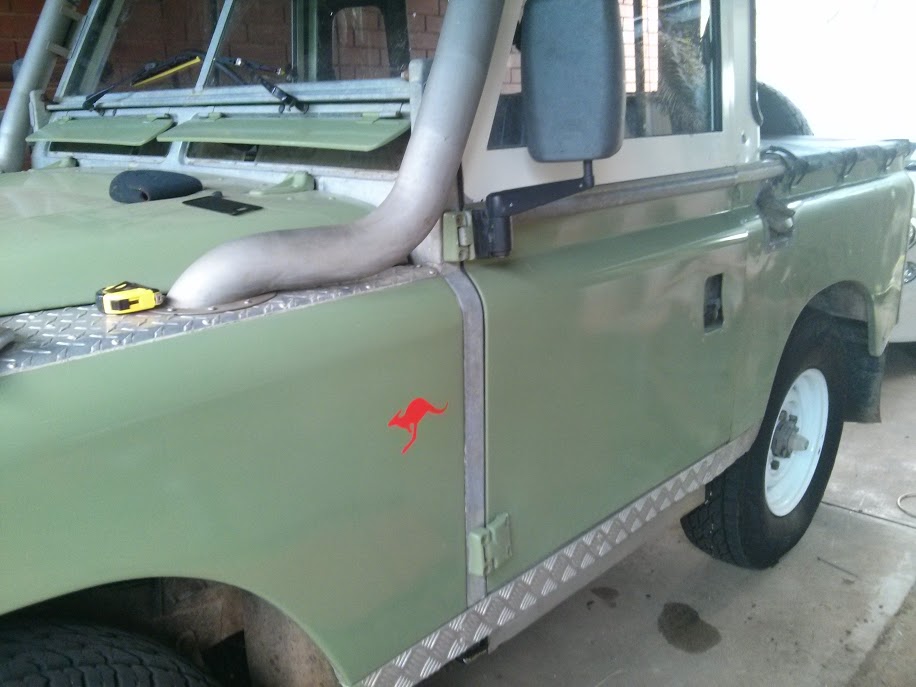
And there we go all done. Hope this helps someone or saves someone some time out there :). Let me know.


Leave a Reply